Assembly Guide
This guide walks you through assembling your DevKitty!
Parts
Buy the DevKitty soldering kit on our webstore!
| Part | Description | Count |
|---|---|---|
| DevKitty PCB | Partially assembled PCB | 1 |
| Microcontroller | S2 Mini (ESP32-S2 Breakout) | 1 |
| Screen | SH1106 I2C Display | 1 |
| Male Header (Short) | S2 Mini Mounting Headers | 2 |
| *Female Header (Short) | S2 Mini Breakout Headers | 2 |
| *Female Header (Long) | Expansion Header | 1 |
Learn more about these parts →
Your DevKitty PCB comes with surface mount Buttons, NeoPixel, and Qwiic Connector pre-soldered since these are a little tricky!
Steps
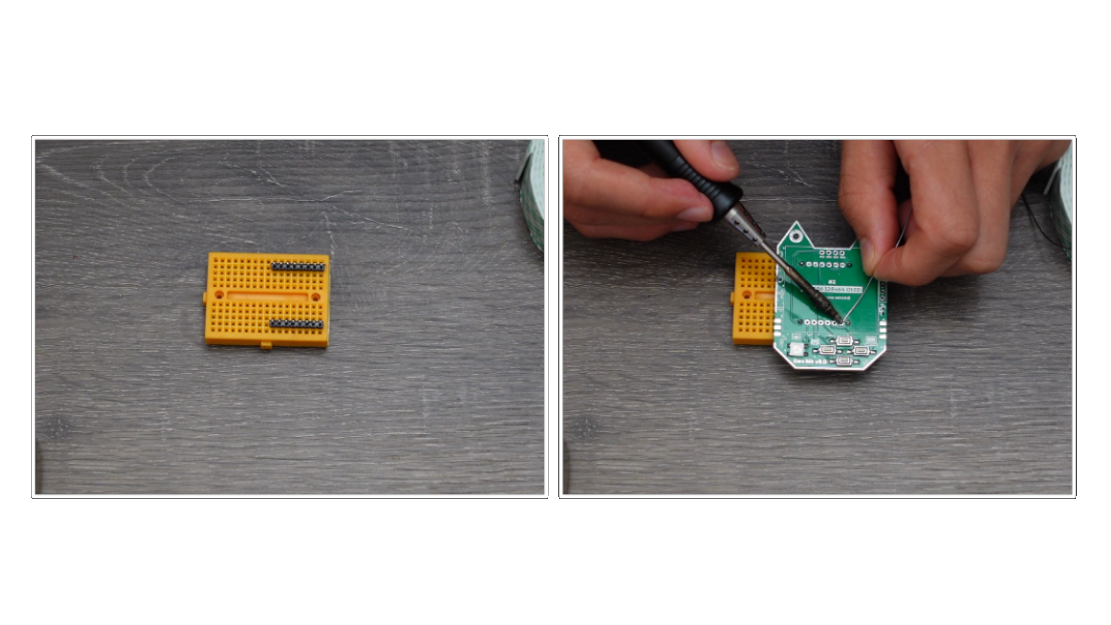
1. Prep the Mounting Headers
Start by soldering the male headers to your DevKitty PCB, button side up!
- The short side of the pin headers should poke through
- Using a breadboard can help keep them in place! If not you can rest it carefully flush on the table.
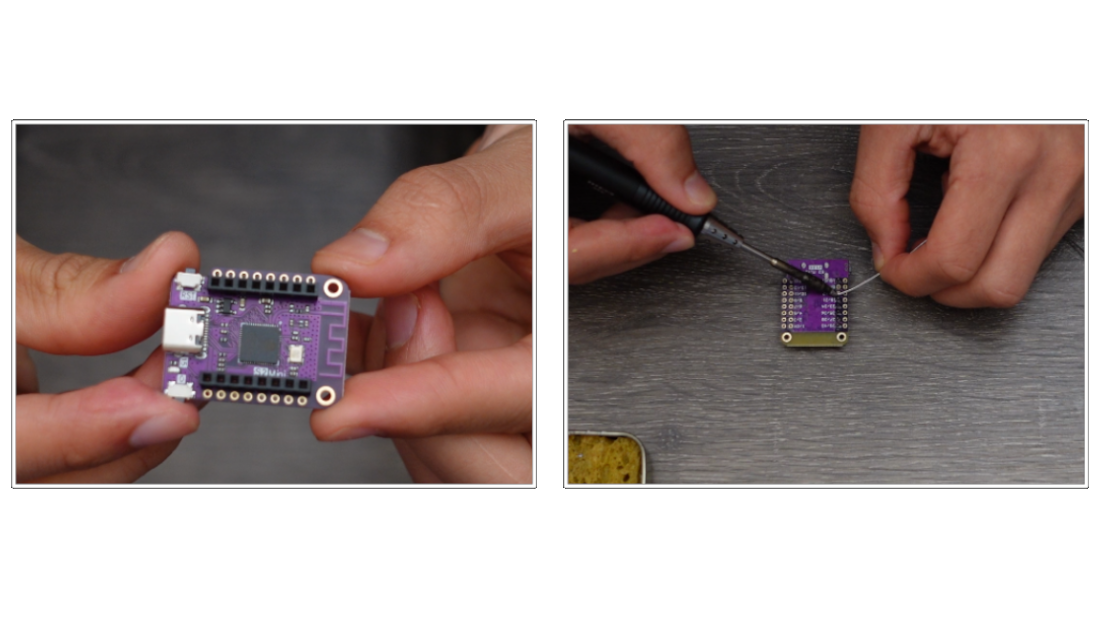
2. Assemble the Microcontroller
This step is optional!
Assemble the microcontroller, by soldering the short female pin headers to the inside rows of the S2 Mini.
- You can flip the microcontroller over on a flat surface to solder the pins.
- Be careful not to get solder in the other holes!
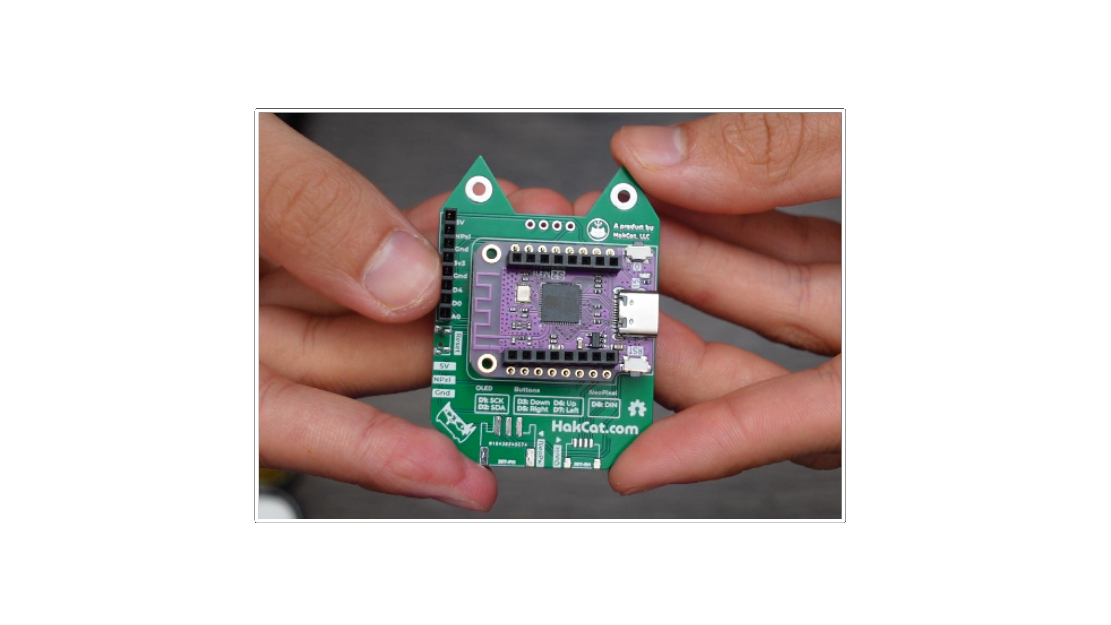
Next, press the S2 Mini onto the headers on the back of your DevKitty - and solder!
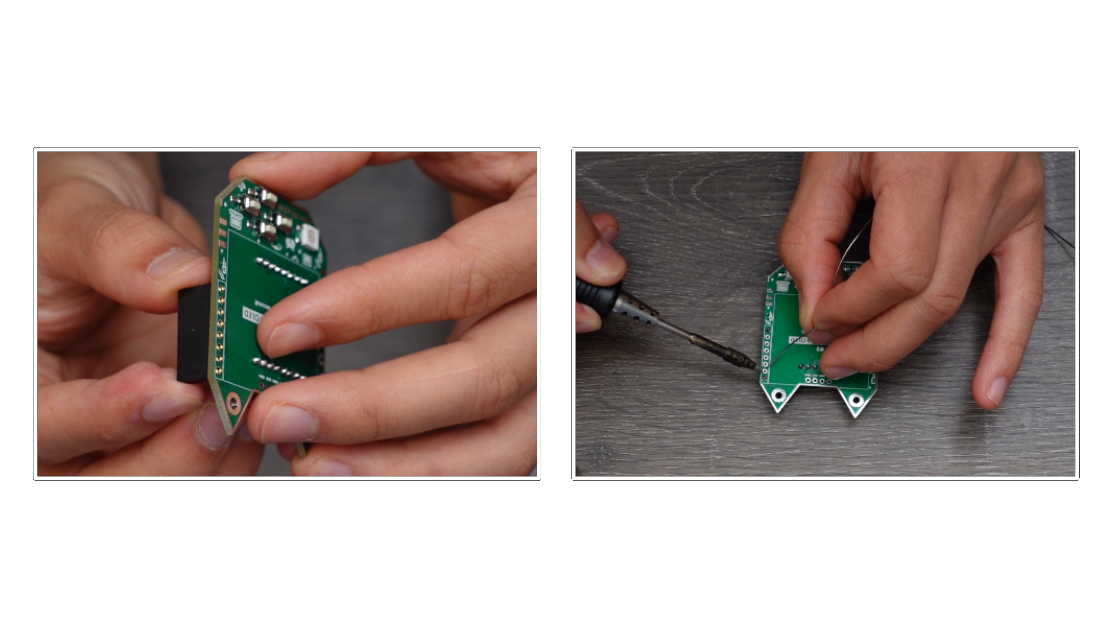
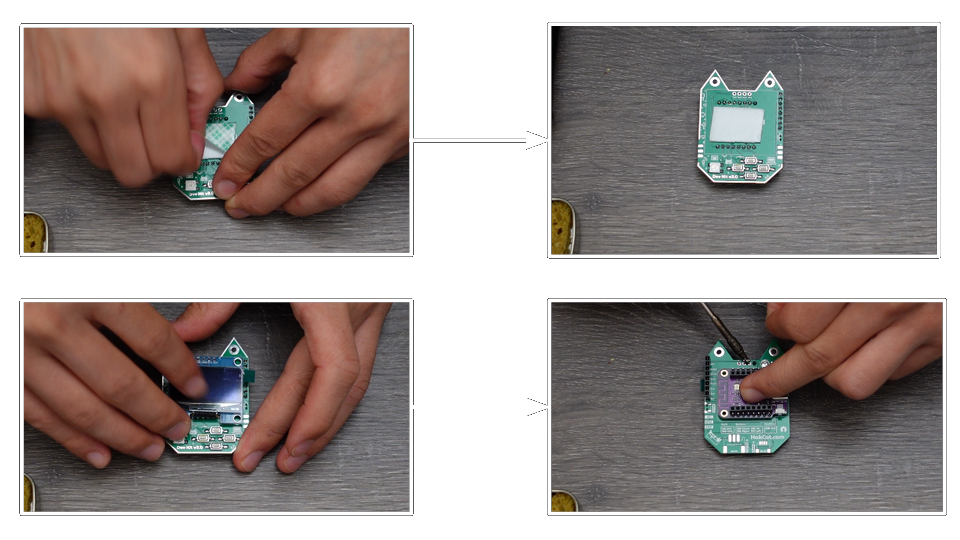
3. Solder the Expansion Header
Next, solder on the long female header to the side of your DevKitty PCB. You should be able to lay the board flush on a table.
4. Prep & Solder the Screen
Next, peel off the adhesive tape on your DevKitty PCB, and gently push the screen in place.
- Be careful to avoid the edges of the screen! It can crack.
5. Assemble the Case
Finally, assemble the snap fit case!
- Insert the
Bumper Buttoninto theLower Enclosure - Press fit the assembled DevKitty into the
Lower Enclosure - Next, place the
D-Padinto theUpper Enclosure, face down - Flip over the
Lower Enclosure, and snap it into place!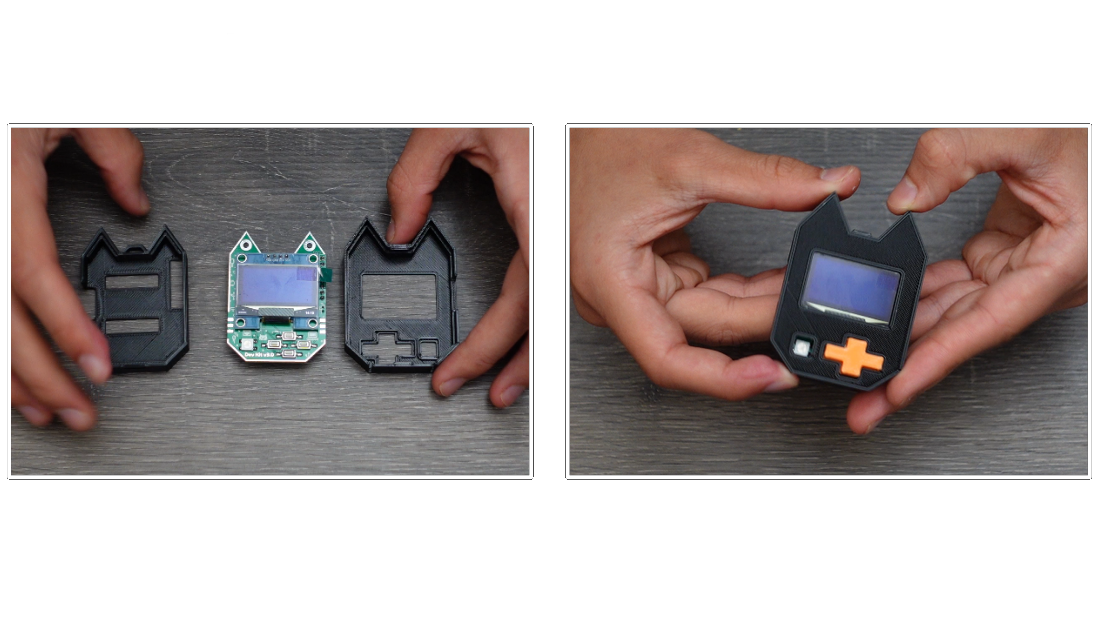
6. Power Your DevKitty!
Plug your DevKitty into a USB-C power source. It should run a simple function tester on the screen and Neopixel if successful.
Now we’re ready to update our firmware!